Creating Single Invitation Links
In some cases you may not control the accounts that are associated with devices that you will be accessing data from for your research study.
- If you are allowing your participants to create their own personal Fitbit or Garmin accounts
- If you are recruiting participants who already own their own devices
In these scenarios, you can use our Invitation Link method to invite those participants to authorize your project to access their data.
1
To invite a participant to connect to your project first navigate to the Connected Devices page by using the dashboard menu link.
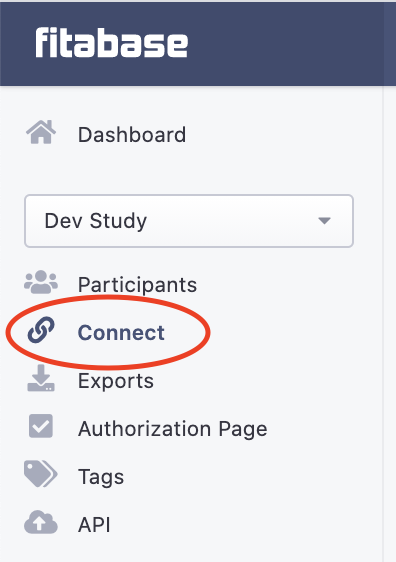
The connected users page will display all currently connected and invited participants. To start the process of inviting your participant, click the Generate Invitation Link button.

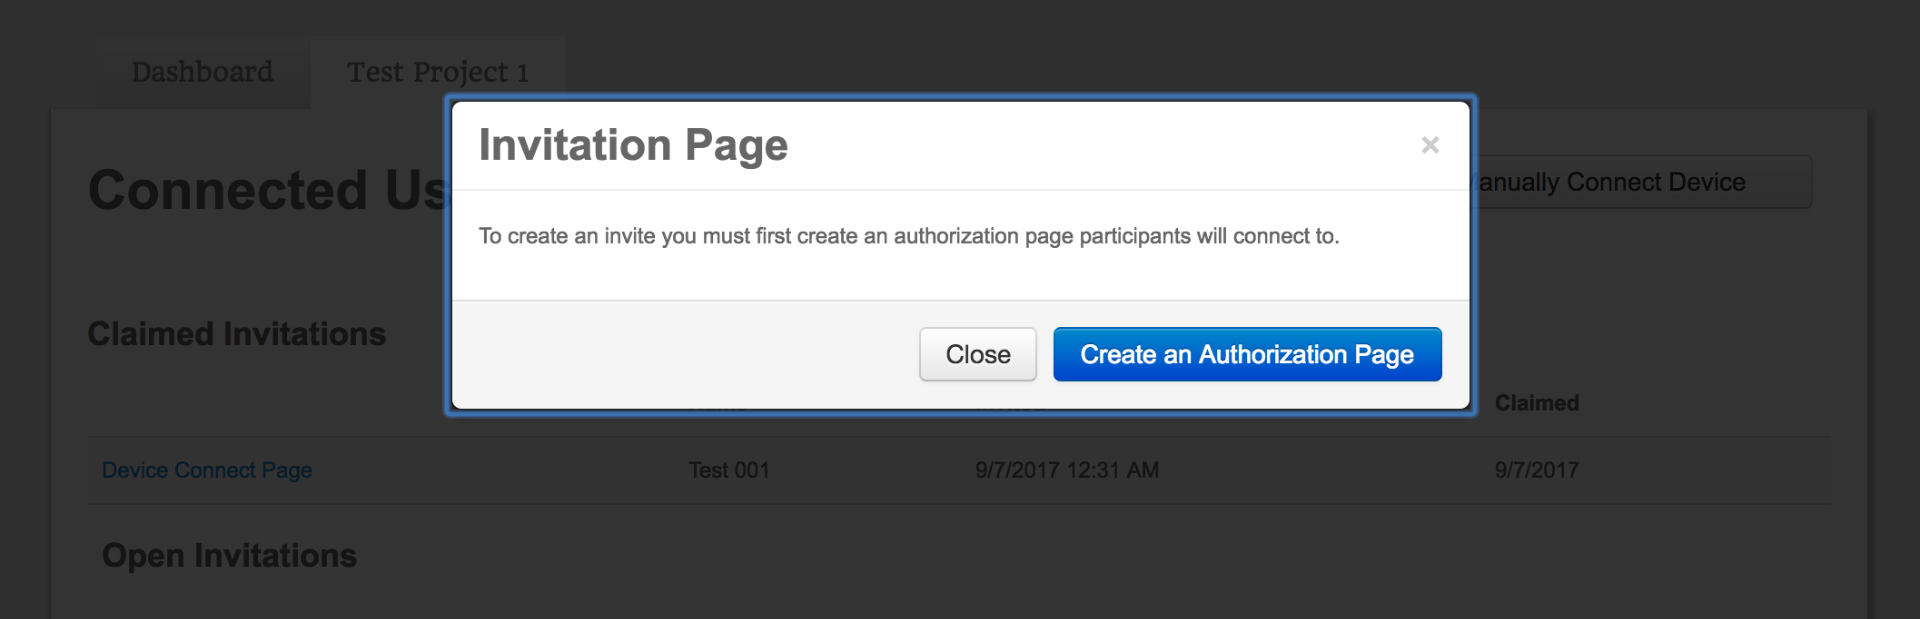
Before you are able to generate any invitation links you will be asked to create an Authorization Page.
The authorization page is what your participants will see when they click the link you generate. This page can contain:
- Your study (or institute) name
- A study image or logo
- General information about the study (About)
- Terms and conditions and/or consent language (Terms)
Click Create an Authorization Page to create and edit your authorization page.
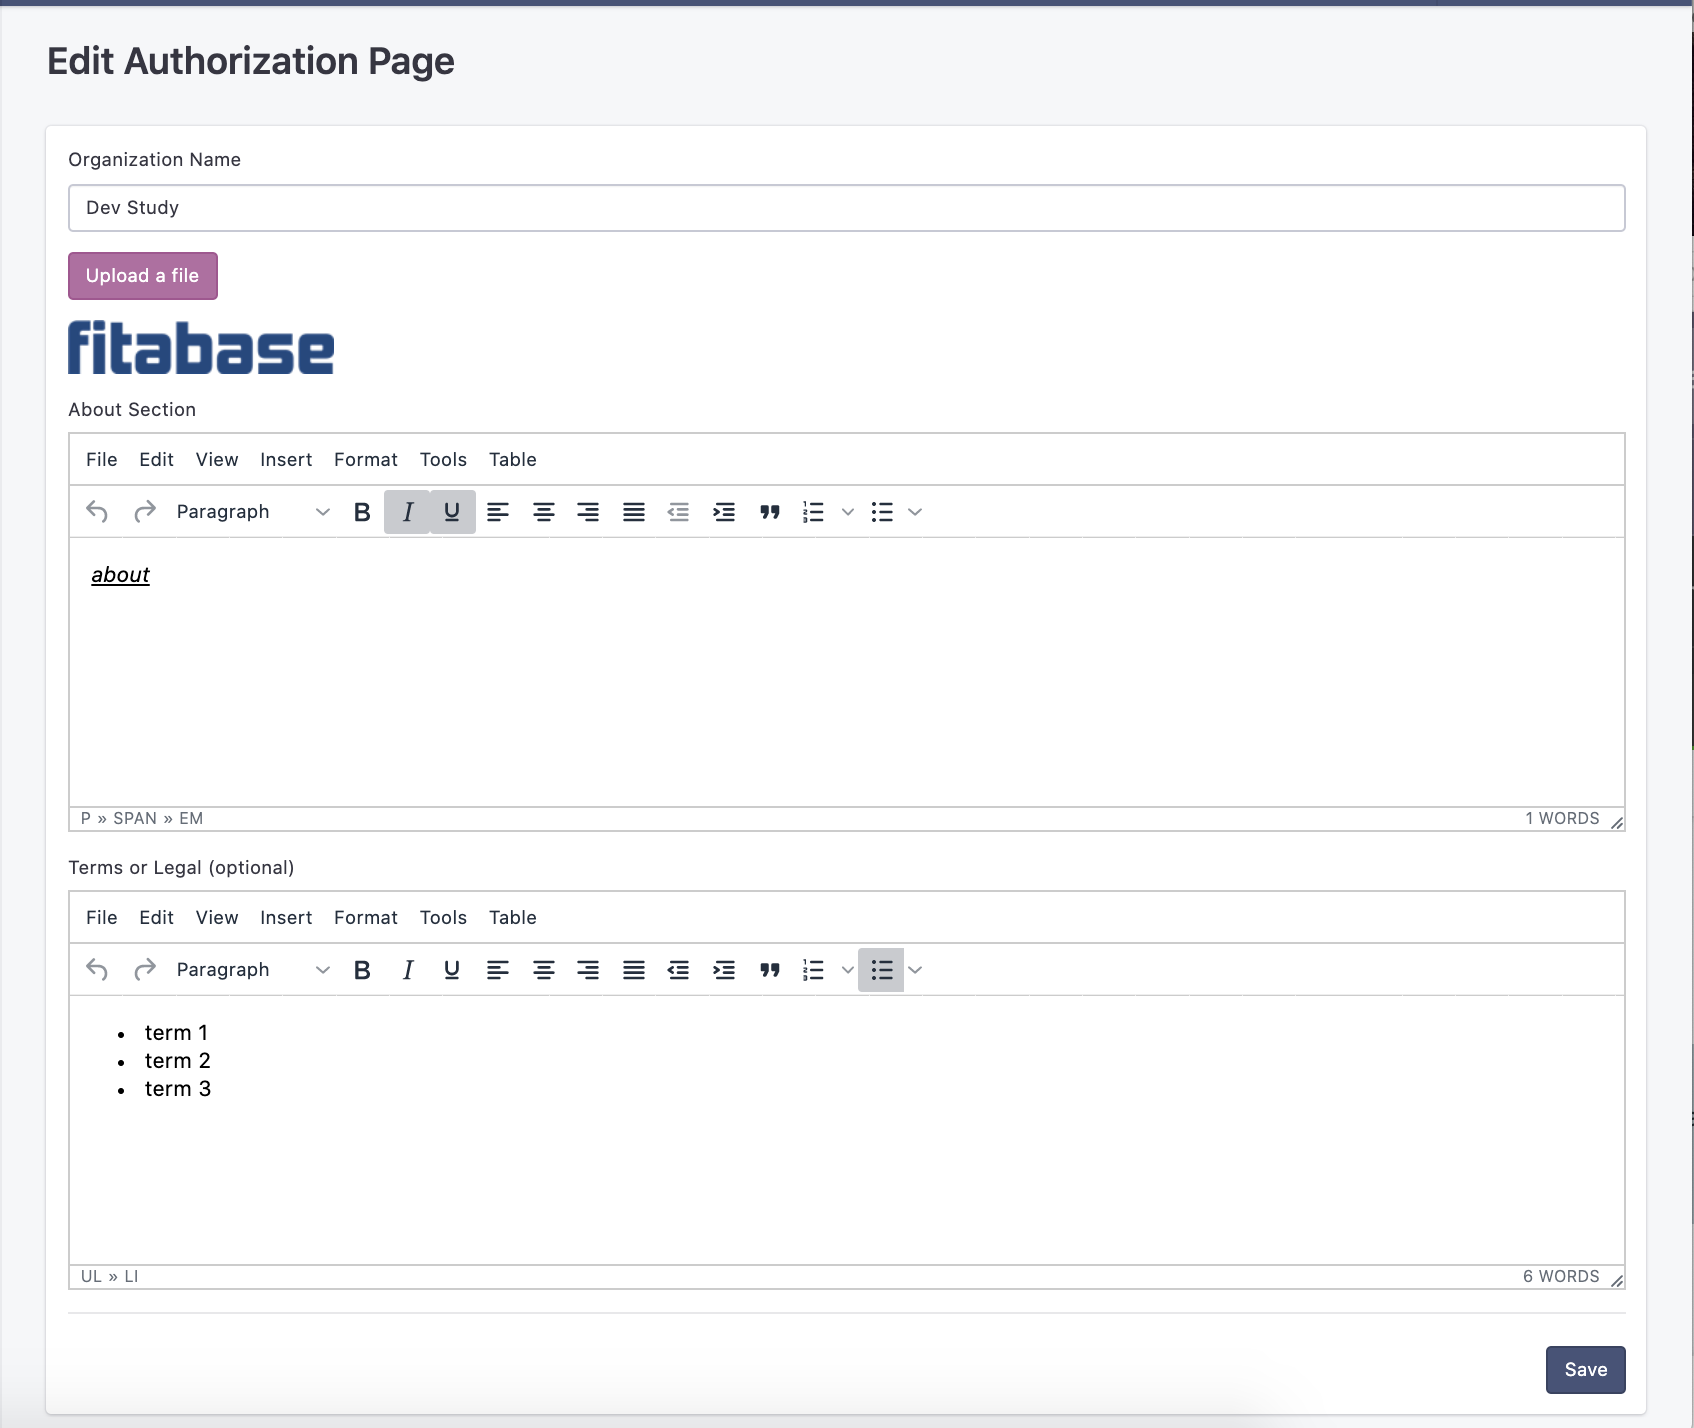
The authorization page creation editor will allow you to enter you organization name, create an About section, and enter any Terms you would like to share. Then click the Create button.
The About and Terms editors support rich text entry so you can format your page to fit your specific needs.
Tip:
You can always edit the authorization page (including adding a logo or study image) by clicking "authorization page" from the project dashboard menu.
After you create your authorization page you will be taken back to the project dashboard. Navigate back to the Connected Devices page by using the dashboard menu link.
Once you're on the Connected Device page you will be able to choose between two options for creating links to send to your participant(s). The first option is to click on the Generate Invitation Link button. This will allow you to create a single invite link for a specific participant ID you create.
The Create Invitation Link page will prompt you to enter in information for the participant you will be connecting.
You will need to enter a participant identifier. In the Syncing section, you should also specify the observation window through which you would like data to be actively pulled into Fitabase from that particular Fitbit.com profile. This step will ensure that data capture from your participants will only take place during the date range that you have designated. Fitabase will continue to pull in new data from all active profiles until an end date is entered. It is strongly suggested that you enter an observation window. This date range can later be adjusted. If needed, you can set multiple timeframes for intermittent data collection.

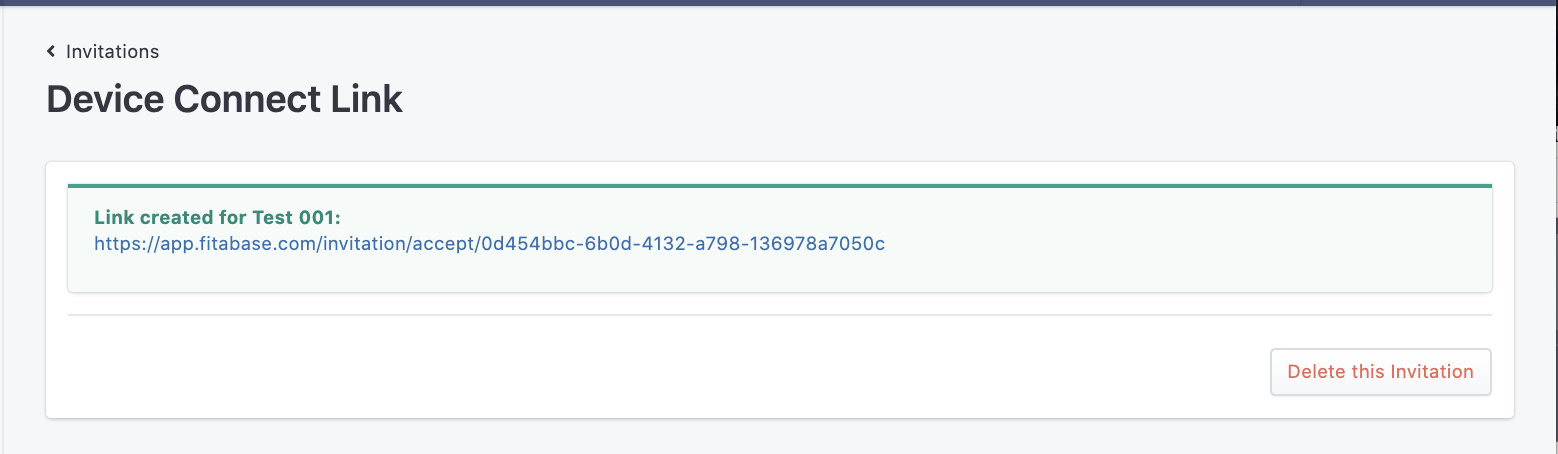
Click the Save changes button to save this participant and associated data collection timeframe. Clicking Save changes will take you to the Device Connect Page, a unique link will be created that is connected to the participant ID you entered, and the data collection time frame you set.
You can copy this link to send to participants via email or other means.
Creating Multiple Invitation Links
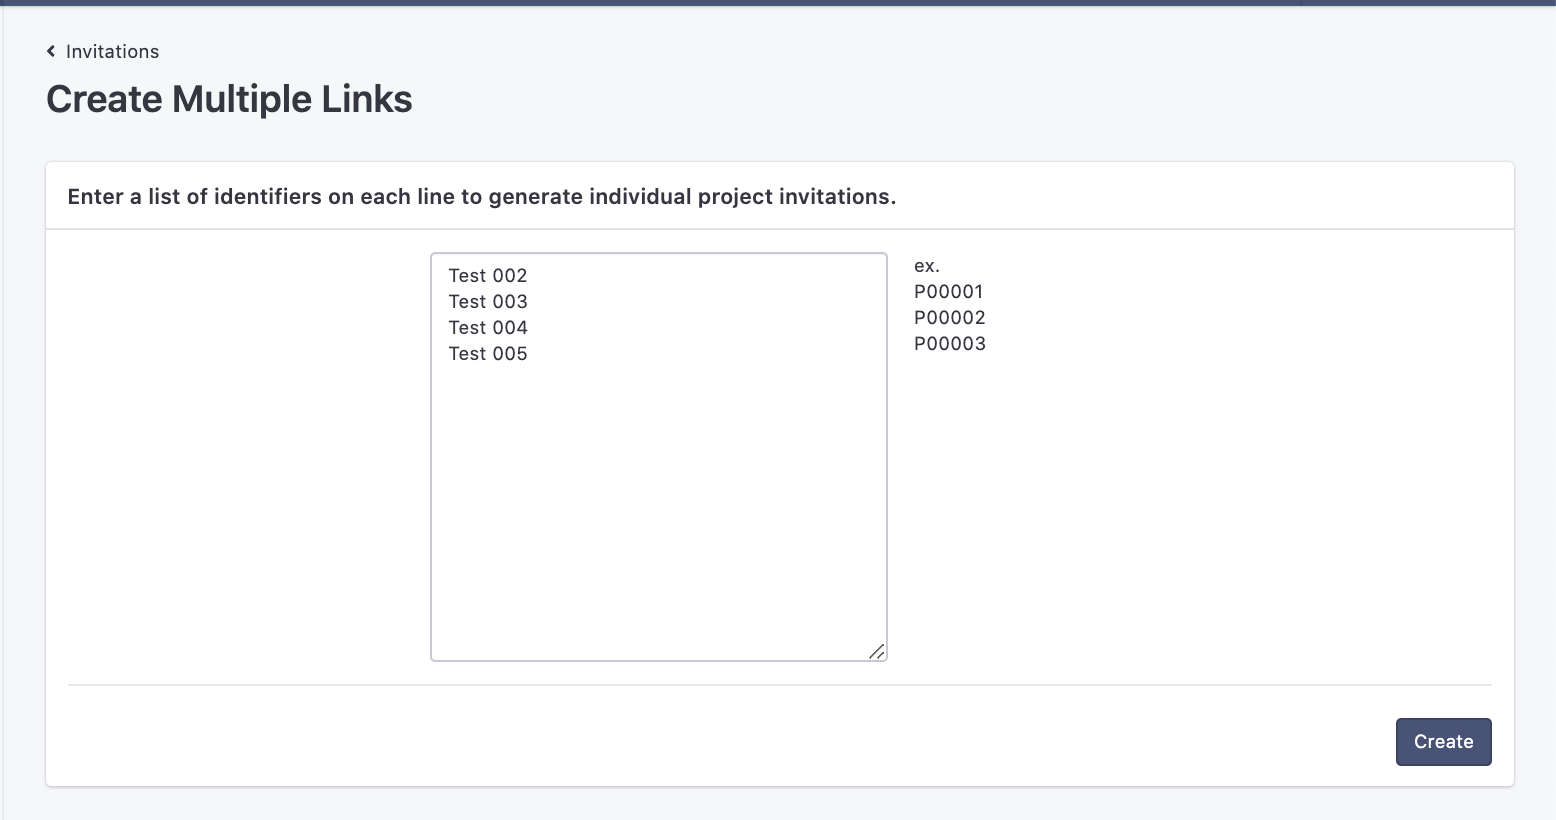
1If you want to create multiple invitations links at once you can easily do that with the create from a list option. Just click on the menu option next to the Generate Invitation Link button.

You can then enter in a list of participant IDs that you would like to generate links for. Each ID must be on separate lines.
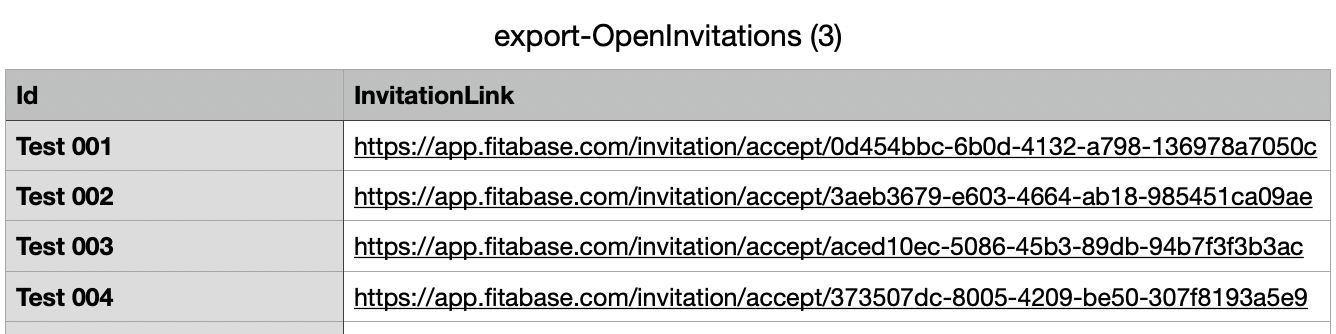
Once you've created your multiple invitations you can export those open invitations to a .csv file so that you can send them to your participants. The .csv file will have two columns: ID, and InvitationLink.

Important:
When creating multiple invitation links you must edit the data collection timeframe for each participant ID after the Fitbit or Garmin account is connected.